

What you will accomplish
Signed-in customers will open Shop in the customer app and see products that are easy to scan: grouped options when you want one card per product, prices that match how you talk about cost, and filter tags in a helpful order. When you finish, your team can explain a price on the phone and have it match what the customer sees on their screen.When to use this guide
Use this guide when customers buy storage plans, services, or memberships from the signed-in Shop page. You might need this when:- A customer says the shop price does not match the invoice
- One product has several price options and the list looks too long
- You added tags such as Storage, Detailing, or Membership and want them in a clear order
- You are about to invite customers to pay online for the first time
Shop is not the same as the public marketplaceShop is what signed-in customers see in the customer app (the Shop tab).The public marketplace is what anyone with the link can open to browse cars or products. See Publish marketplace listings for the public page, and Test marketplace checkout before you share a buy link.
Before you start
- You can open Settings > Website & customer app.
- At least one product or plan exists in Payments > Products and services.
- If you will collect payment, finish Connect payment processing first.
- You know whether customers should see tax and processing fees in the listed price, or added later at checkout.
Step 1: Open the Shop page in Customer app
1
Go to Website & customer app
In the dashboard sidebar, open Settings, then Website & customer app.You can also go directly to Settings > Website & customer app.Expected result: The page title is Website & customer app. You see Shareable links at the top.
2
Scroll to Customer app
Scroll to the Customer app section.Expected result: You see a phone-sized live preview and a row of page names such as Home, Events, Cars, Schedule, Shop, Billing, Documents, and Settings.
3
Click Shop
Click Shop in that page row (labeled Customer app pages).Why this matters: Shop settings only appear after you select Shop. If you stay on Home, you will edit the home screen instead.Expected result: The editor shows Shop catalog and Shop filter tags. The preview shows the Shop page.
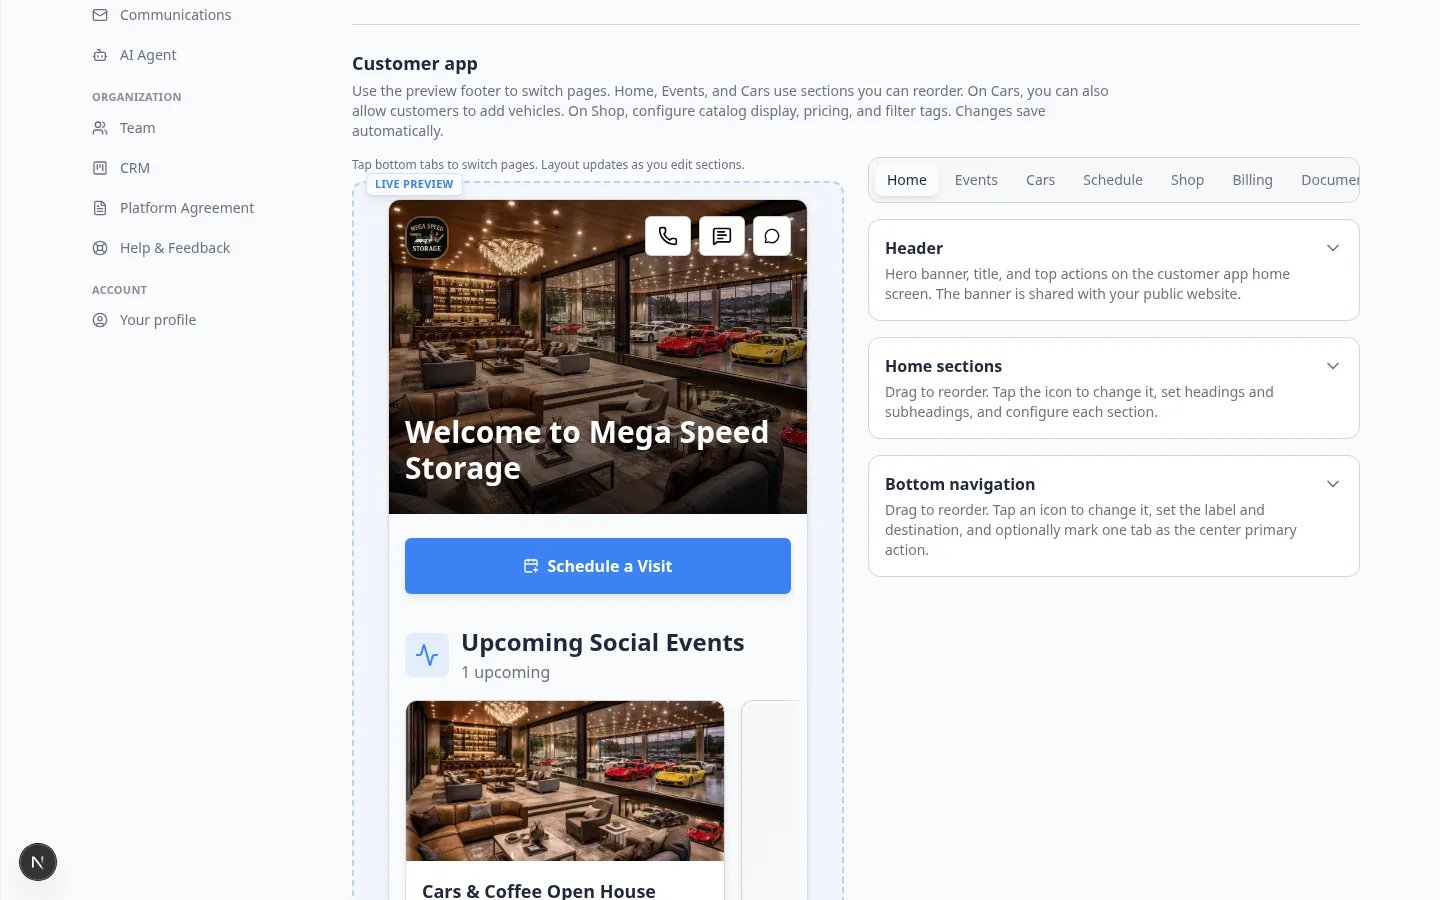
Step 2: Set Shop catalog display
Shop catalog controls how product cards look.1
Find Shop catalog
On the Shop page, expand Shop catalog if it is collapsed.Expected result: You see three switches: Group product options, Show prices including tax, and Show prices including processing fees.
2
Choose Group product options
Turn Group product options on when one product has several prices (for example Indoor / Outdoor, or Monthly / Annual).Customers see one card, then click through to pick an option.Turn it off when every price should appear as its own card on the list.Why this matters: A long list of nearly identical cards is hard to scan on a phone. Grouping keeps the shop short.
3
Choose Show prices including tax
Turn Show prices including tax on when you want shop cards to show the tax-included total.Turn it off when you want the card to show the amount before tax.Checkout still adds the correct tax either way.
4
Choose Show prices including processing fees
Turn Show prices including processing fees on when the card should show the card or bank fee already included.Turn it off when the card should show the service amount before those fees.Expected result: Each switch saves on its own. You may see a short Saved message. The phone preview updates to match.
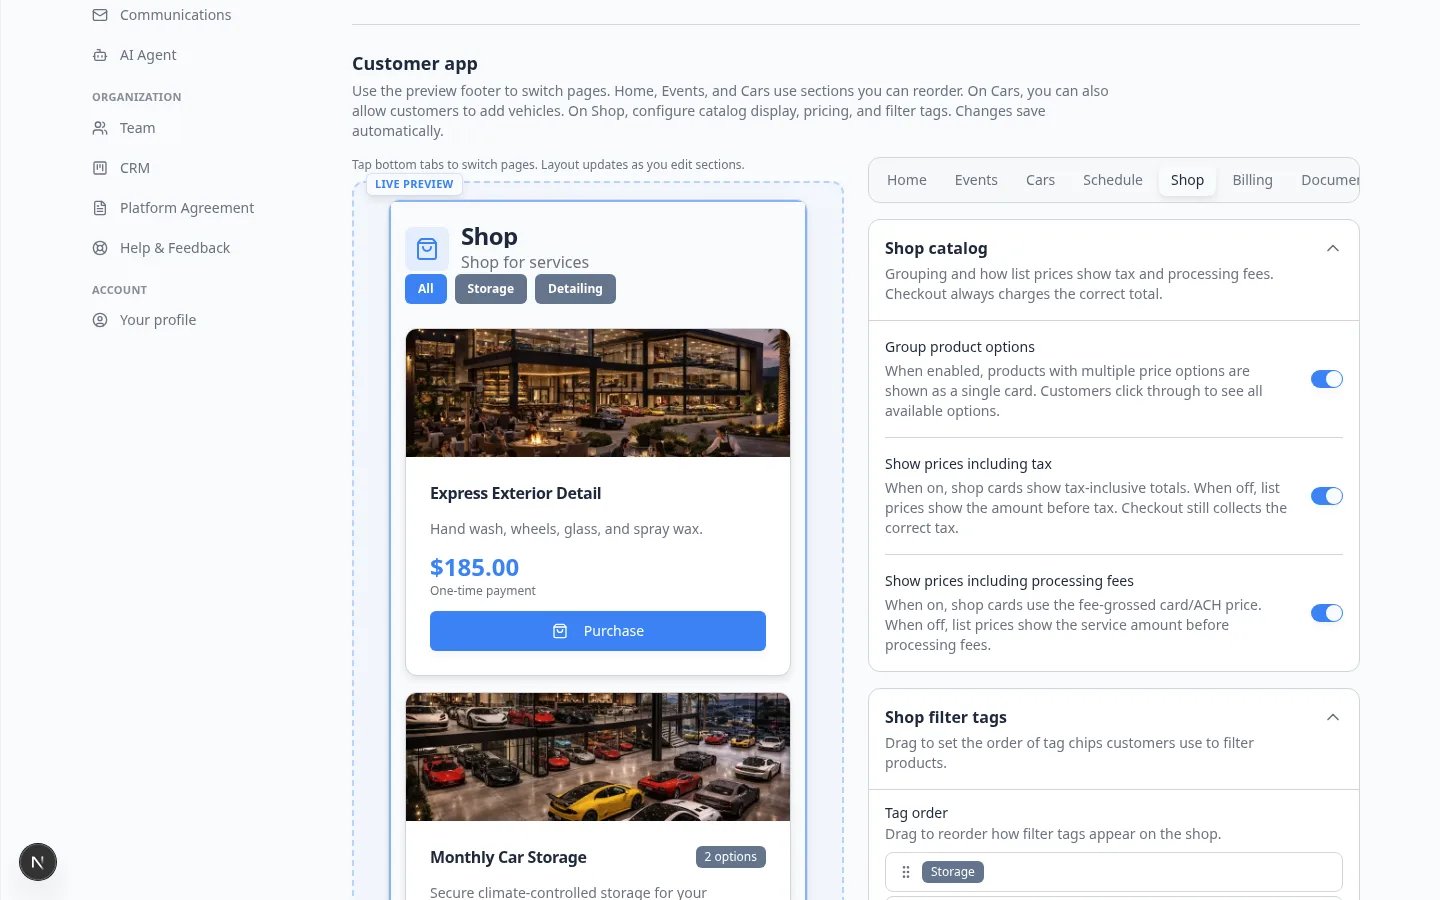
What each switch means in plain English
Step 3: Put filter tags in a helpful order
Shop filter tags are the chips customers tap to narrow the list (for example Storage, Detailing, Membership). Tags come from each product. You add them on the product in Payments > Products and services. This settings page only orders tags that already exist.1
Find Shop filter tags
Still on the Shop page, expand Shop filter tags.
2
If you see No shop tags yet
Open Payments > Products and services, edit a product, and add customer-facing tags such as Storage or Detailing.Come back to Shop filter tags. The tags appear after you save the product.Why this matters: Empty tag chips confuse customers. Add tags only when you have more than one kind of product.
3
Drag tags into the order customers should see
Drag the handle on the left of each tag.Put the most common choice first. Many facilities use: Storage → Services → Membership.
4
Click Save if you see it
After you drag, click Save if a Save button appears.Expected result: The preview filter chips match the new order.
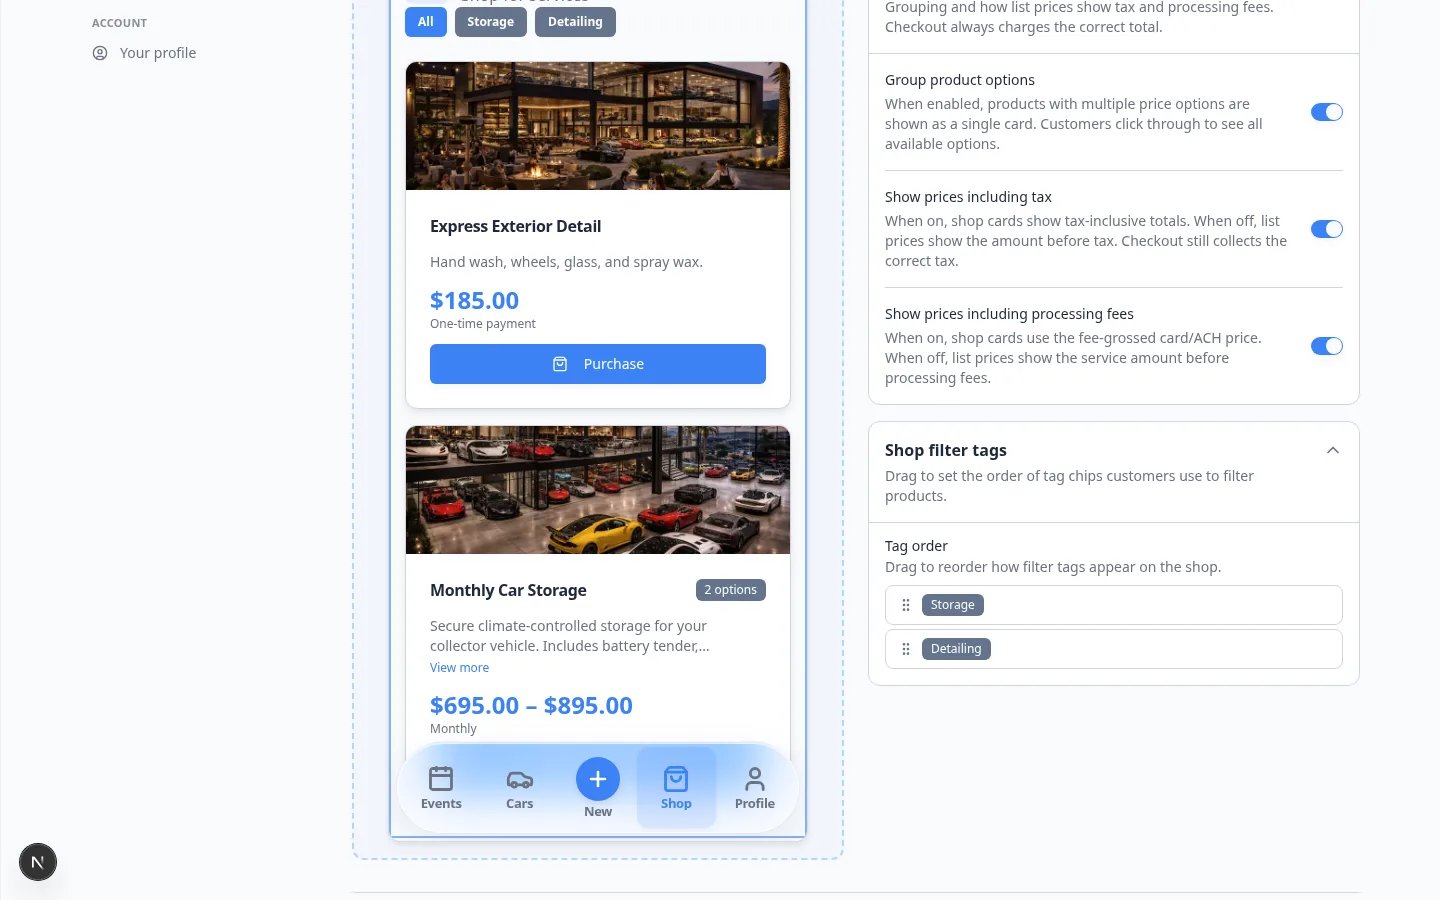
Step 4: Confirm Shop appears in bottom navigation
If customers cannot find Shop, the Shop tab may be missing from bottom navigation on the Home page.1
Click Home in the page row
In Customer app, click Home.
2
Check Bottom navigation
Expand Bottom navigation. Confirm a tab labeled Shop (or similar) is present and points to the shop page.If you removed it earlier, click Add nav item and add Shop back.See Customize the customer mobile app for home screen and tab help.
Step 5: Preview like a customer
1
Copy Customer login
Scroll to Shareable links at the top of the same settings page. Click Copy on Customer login.
2
Open a private browser window
Use a private or incognito window so you are not signed in as staff.
3
Sign in as a test customer
Enter an email from a test customer in Contacts.Open Shop from the bottom tabs.Expected result: Product names, grouped options, prices, and tag chips match the preview you set in Customer app.
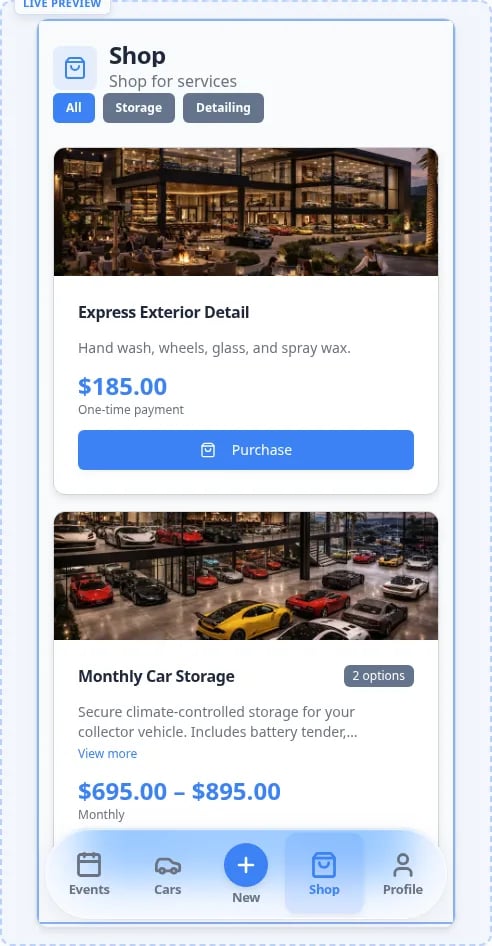
What success looks like
- You opened Shop from the page row in Settings > Website & customer app.
- Group product options matches how you want the list to look.
- Tax and fee switches match how your team quotes prices on the phone.
- Filter tags are in a customer-friendly order—or hidden because you have no tags yet.
- A test customer can open Shop from the customer app and see the same layout.
Troubleshooting
What to do next
- Let customers add their own cars if owners should add vehicles from the Cars page
- Publish marketplace listings if guests should browse without signing in
- Test marketplace checkout before you share a buy link
- Go live checklist for public pages before a wide launch