

What you will accomplish
- Open Shopmonkey and paste the Shopmonkey API key.
- Click Connect Shopmonkey so new jobs can arrive on their own.
- Match Shopmonkey locations to your facilities, then import recent jobs.
- Open Schedule and confirm a known job is there.
When to connect Shopmonkey
Use this when the shop already books work in Shopmonkey and the storage team needs the same jobs on the facility calendar. Skip this if you do not use Shopmonkey.Before you start
- Your Shopmonkey plan includes API access.
- You need Schedule permission to open Settings > Integrations.
- In Shopmonkey, go to Settings → API and create a key. Copy it somewhere safe.
- Know which Shopmonkey location matches each of your facilities.
Connect Shopmonkey
1
Open Integrations
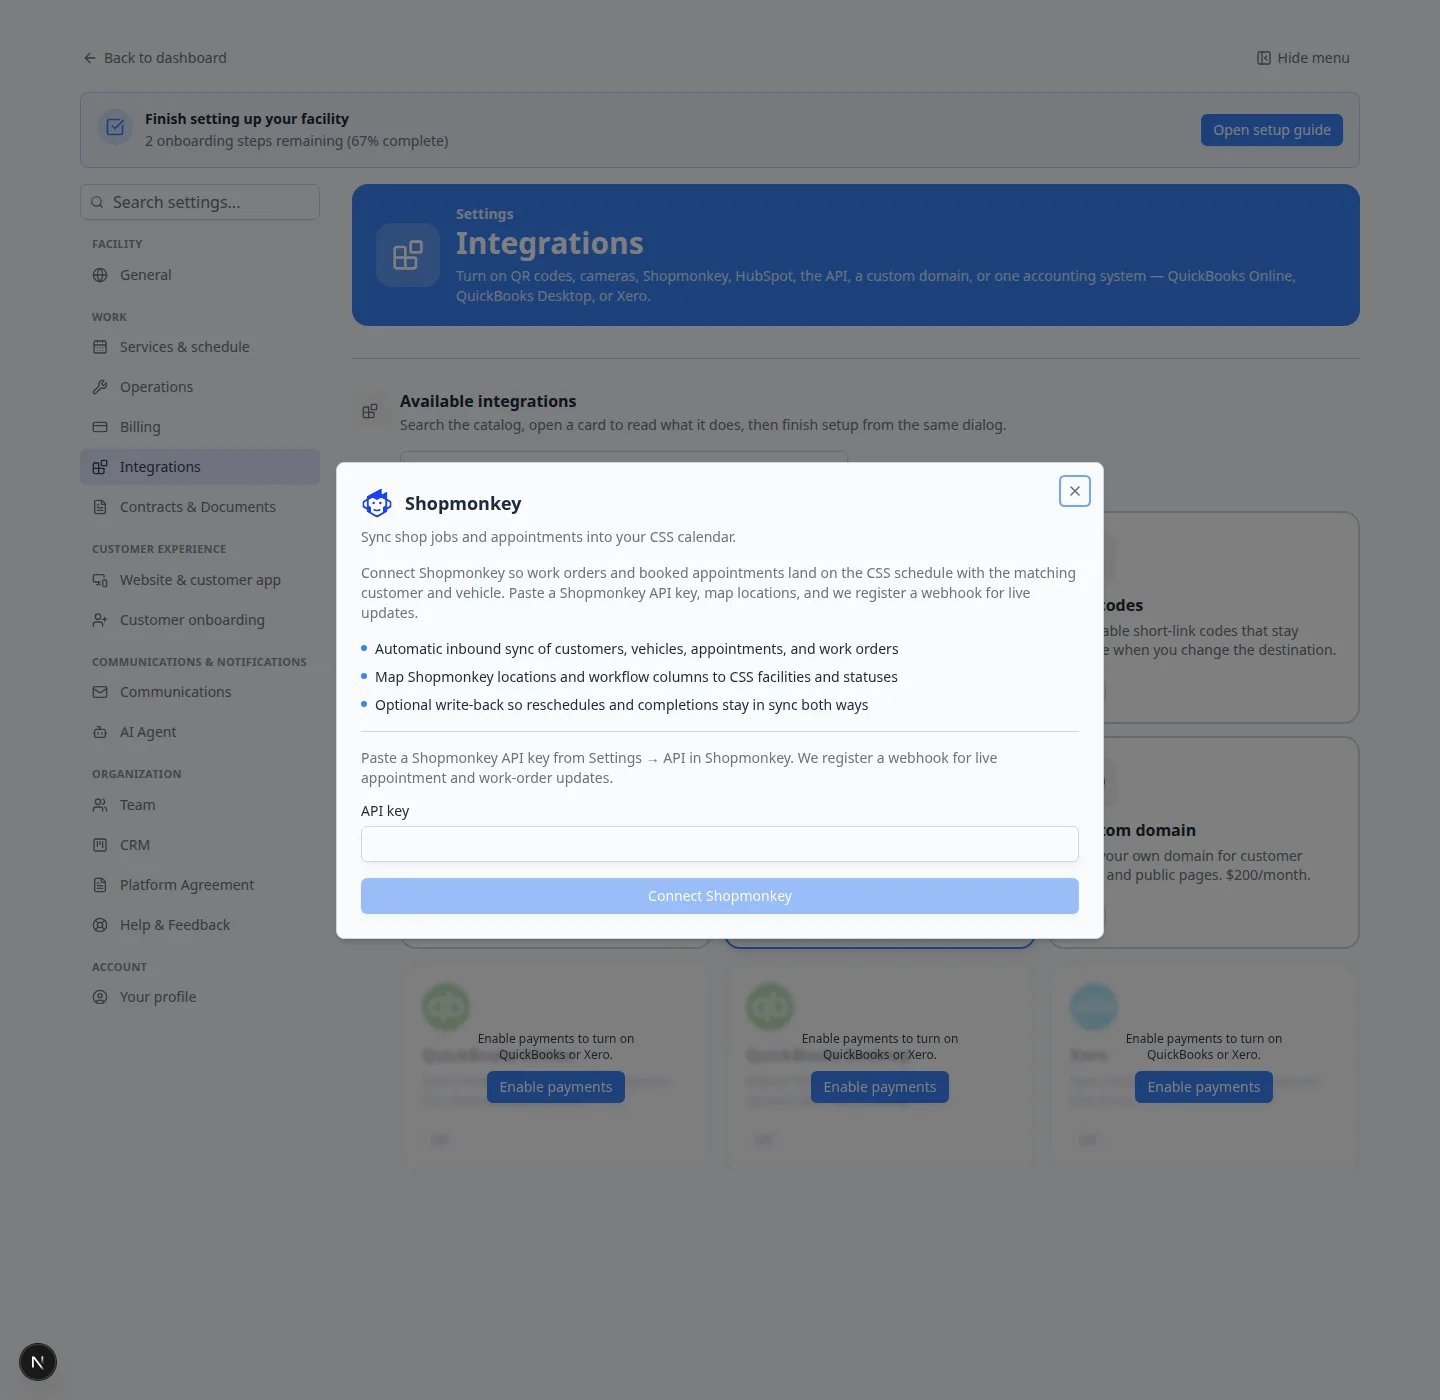
Go to Settings > Integrations and click Shopmonkey. You can also type shopmonkey in Search integrations…
2
Paste the API key
In the Shopmonkey window, find the API key box. Paste the key from Shopmonkey Settings → API.Expected result: The Connect Shopmonkey button becomes ready to click after the key is long enough.
3
Click Connect Shopmonkey
Click Connect Shopmonkey.Why this matters: Connecting tells Shopmonkey where to send live updates. New appointments and work orders can then appear on your calendar without a daily import.
4
Confirm the card
Close the window and check the Shopmonkey card.Expected result: The card shows Connected.
Map locations and import recent jobs
After the connection works, the same window shows mapping options.1
Match locations
Under Locations, pick the Car Storage Software facility that matches each Shopmonkey location.
2
Keep or change the default event type
Default event type is usually Shopmonkey Job. Change it only if your team already created a better matching event type.
3
Map statuses if you want
Shopmonkey workflow → CSS status controls how a Shopmonkey column appears on your calendar (for example In progress).CSS status → Shopmonkey workflow is optional. Fill it in only if a status change here should also move the Shopmonkey job.
4
Save mappings
Click Save mappings.
5
Import last 90 days
Click Import last 90 days, then open Schedule and look for a job you already know.Expected result: Recent appointments and work orders appear on the calendar. Opening a synced event shows the Shopmonkey work order number and status.
Optional two-way settings
Leave these off until you are sure you want them.Create walkthrough sessions for imported jobs starts a walkthrough when a job arrives.Allow CSS billing on imported jobs lets your team bill from the imported event. It does not charge a card by itself.Create matching Shopmonkey jobs for new CSS events creates a Shopmonkey job when your team adds an event here. You can limit that to certain event types.
Imported jobs do not text customers by defaultInbound sync does not send texts or create card charges unless you turn those options on. That protects customers from surprise messages while you test the first import.
Confirm it worked
- The Shopmonkey card shows Connected.
- A known Shopmonkey job appears on Schedule.
- A new Shopmonkey appointment appears later without another import.
Troubleshooting
I cannot see QuickBooks or XeroAccounting cards stay dimmed until payments are on. Shopmonkey stays available without payments. See Connect HubSpot if you also want sales contacts to sync.